In today’s fast-paced digital landscape, animated explainer videos have become an essential tool for businesses seeking to engage their audience and convey complex ideas clearly and effectively. These short, visually appealing videos simplify information, making it accessible and digestible for viewers. In this comprehensive guide, we will explore the entire process of creating animated explainer videos, from concept development to final production, highlighting best practices, benefits, and tips for maximizing your video marketing strategy.
What is an Animated Explainer Video?
Definition and Purpose
An animated explainer video is a short, engaging video that uses animated graphics and visuals to explain a product, service, or concept. Typically ranging from 60 to 120 seconds, these videos aim to:
- Simplify complex information.
- Engage and capture the audience’s attention.
- Drive conversions by prompting viewers to take action.
Why Choose Animated Explainer Videos?
- Versatility: Suitable for various industries, including technology, healthcare, finance, and education.
- Engagement: Combines visuals, sound, and storytelling to maintain viewer interest.
- Shareability: Highly shareable across social media platforms, enhancing brand visibility.
Benefits of Animated Explainer Videos
1. Improved Understanding
Animated videos break down complex ideas into digestible segments, making it easier for viewers to understand your message. Using visuals to complement your narrative enhances comprehension and retention.
2. Increased Engagement
With attention spans dwindling, animated explainer videos capture interest quickly. The combination of dynamic visuals, compelling storytelling, and sound effects keeps viewers engaged from start to finish.
3. Higher Conversion Rates
Studies show that incorporating explainer videos on landing pages can boost conversion rates by up to 80%. By clearly communicating your value proposition, you can persuade potential customers to take action.
4. Enhanced Brand Recall
Animation allows you to create memorable characters and scenarios that resonate with your audience. This emotional connection helps reinforce brand identity and increases recall.
The Process of Creating Animated Explainer Videos
Creating an animated explainer video involves several key steps, each critical to producing high-quality content that achieves your marketing objectives.
Step 1: Define Your Goals and Audience
Set Clear Objectives
Before starting the production process, it’s essential to define your goals. Are you aiming to increase brand awareness, generate leads, or educate your audience about a specific product? Establishing clear objectives will guide the development of your video.
Understand Your Target Audience
Identifying your target audience is crucial for crafting a message that resonates. Consider factors such as:
- Demographics: Age, gender, location, and occupation.
- Interests: What problems do they face that your product or service can solve?
- Preferred Platforms: Where does your audience consume video content (e.g., social media, websites, email)?
Step 2: Scriptwriting
Craft a Compelling Script
The script is the backbone of your animated explainer video. A well-written script should:
- Start with a Hook: Grab the viewer’s attention within the first few seconds.
- Present a Problem: Clearly define the challenge or pain point your audience faces.
- Offer a Solution: Introduce your product or service as the solution.
- Include a Call to Action (CTA): Encourage viewers to take a specific action, such as visiting your website or signing up for a newsletter.
Step 3: Storyboarding
Visualize Your Ideas
Storyboarding is the process of creating a visual representation of your script. It involves sketching out scenes, determining camera angles, and planning transitions. This step is crucial for:
- Organizing Content: Ensuring the flow of information is logical and coherent.
- Identifying Visual Elements: Deciding what animations, graphics, and characters will be used in each scene.
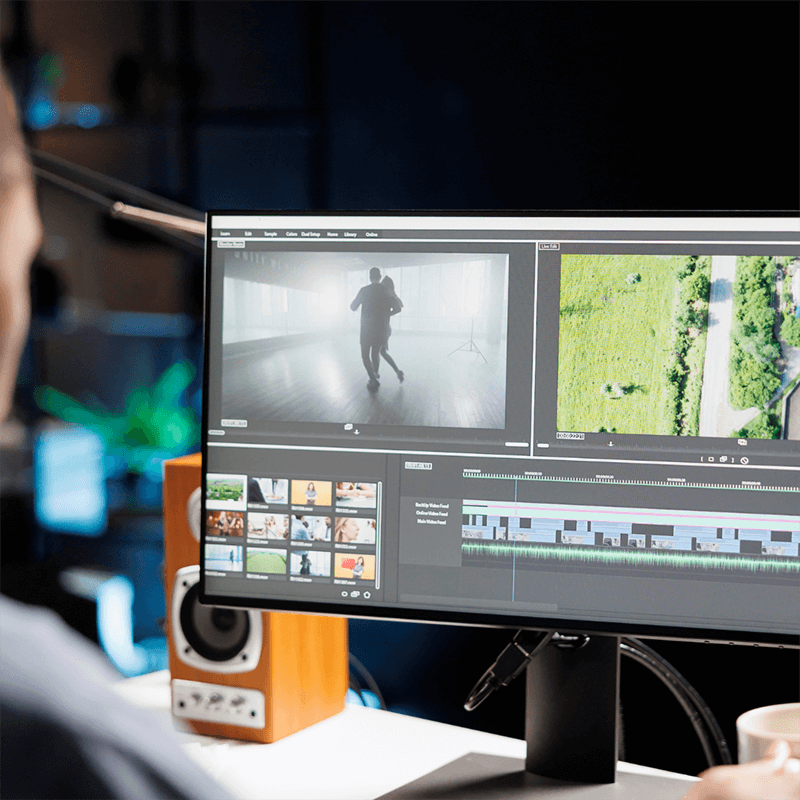
Step 4: Design and Animation
Create Visual Assets
With your storyboard in hand, it’s time to design the visual elements of your video. This includes:
- Characters: Design relatable and memorable characters that represent your brand.
- Backgrounds: Create environments that enhance the narrative and keep viewers engaged.
- Graphics: Incorporate icons and illustrations that simplify complex concepts.
Animation Techniques
When it comes to animation, there are several techniques to choose from:
- 2D Animation: Traditional flat animation that is visually appealing and straightforward.
- 3D Animation: Adds depth and realism but requires more resources and expertise.
- Whiteboard Animation: Involves hand-drawn illustrations on a white background, giving a unique and engaging look.
Step 5: Voiceover and Sound Design
Choose the Right Voiceover
A professional voiceover can significantly enhance the impact of your animated explainer video. Consider the following when selecting a voiceover artist:
- Tone and Style: Match the voice with your brand’s personality (e.g., friendly, authoritative, casual).
- Clarity: Ensure the voiceover is clear and easy to understand.
Sound Effects and Music
Adding sound effects and background music can elevate your video’s production quality. Music sets the tone and enhances emotional engagement, while sound effects can emphasize key points and actions.
Step 6: Editing and Finalization
Edit for Cohesion
After completing the animation and voiceover, the editing phase begins. This involves:
- Cutting Unnecessary Scenes: Ensure every second of your video serves a purpose.
- Timing and Pacing: Synchronize the visuals with the voiceover and background music.
- Adding Transitions: Smooth transitions help maintain viewer interest and flow.
Review and Feedback
Before finalizing the video, gather feedback from stakeholders or test audiences. This input can help identify areas for improvement and ensure your message resonates with viewers.
Step 7: Distribution and Promotion
Choose Distribution Channels
Once your animated explainer video is ready, it’s time to share it with your audience. Consider the following distribution channels:
- Social Media: Platforms like Facebook, Instagram, and LinkedIn are excellent for reaching a wide audience.
- Your Website: Embed the video on your homepage or landing pages to enhance user experience.
- Email Marketing: Include the video in newsletters to boost engagement and click-through rates.
Optimize for SEO
To maximize visibility, optimize your video for search engines by:
- Using Relevant Keywords: Include keywords in the video title, description, and tags.
- Creating a Compelling Thumbnail: An eye-catching thumbnail encourages clicks.
- Adding Transcripts: Providing transcripts can improve accessibility and SEO rankings.
Best Practices for Animated Explainer Videos
1. Keep It Short and Sweet
Aim for a duration of 60 to 120 seconds. This length is ideal for maintaining viewer attention while conveying your message effectively.
2. Focus on the Benefits
Highlight the benefits of your product or service rather than just its features. This approach helps viewers understand how your offering can solve their problems.
3. Use a Strong Call to Action
Conclude your video with a clear and compelling CTA, guiding viewers on the next steps they should take.
4. Test and Iterate
Monitor the performance of your animated explainer video through analytics. Assess viewer engagement, drop-off rates, and conversion metrics to refine your strategy for future videos.